
The allure of homemade ice cream is undeniable, especially when it’s dairy-free and packed with wholesome ingredients.
With a Vitamix, you can whip up creamy, dreamy frozen treats that are both indulgent and healthy.
These Vitamix Dairy Free Ice Cream Recipes are perfect for warm summer days or whenever you’re craving something sweet.
Using natural sweeteners and fresh fruits, this ice cream not only satisfies your sweet tooth but also nourishes your body.
The History and Cultural Significance
• Dairy-free ice cream has its roots in the growing trend toward plant-based diets, gaining popularity in the late 20th century as a healthier alternative to traditional ice cream.
• Over the years, ingredients evolved from simple fruit purees and nut milks to include a wide variety of flavors and textures, catering to diverse dietary needs.
• In many cultures, frozen desserts like sorbet and gelato are enjoyed during summer festivals and celebrations, symbolizing joy and community.
• While variations abound, the key characteristic of dairy-free ice cream is its creamy, smooth texture achieved through blending rather than churning.
Recipe Overview
Nutritional Information (per serving)
Ingredients
Essential Equipment Guide
Vitamix Blender: A high-performance blender like the Vitamix is crucial for achieving the smooth, creamy texture that makes this ice cream irresistible. Look for models with strong motors and variable speed settings to blend ingredients efficiently.
Freezer-Safe Container: Storing your ice cream in a suitable container helps maintain its consistency and prevents ice crystals from forming. Choose airtight containers that are designed to withstand low temperatures.
Spatula: A sturdy spatula is essential for scraping down the sides of the blender and ensuring all ingredients are well combined. Opt for silicone spatulas that can withstand cold temperatures.
Preparation Methods
Blending: This technique involves thoroughly mixing all ingredients in a high-speed blender until smooth. It’s crucial for achieving that ice cream-like texture instead of a slushy one. To master it, start with softer ingredients like bananas and gradually add harder ones.
Chilling: Allowing your mixture to chill before freezing enhances the flavor and texture. After blending, store it in the fridge for at least 30 minutes for the best results.
Freezing: This final step transforms your liquid mixture into ice cream. Pour the blended mixture into a freezer-safe container and freeze for at least 4 hours. Stir every hour for the first three hours to prevent ice crystals.
Step 1: Prepare Ingredients

Gather all ingredients and measure them accurately.
Ensure you have full-fat coconut milk for the right creaminess.
Use ripe bananas for natural sweetness and better texture.
Prepare any additional flavorings or mix-ins you plan to use.
Step 2: Blend the Base

In your Vitamix, combine the coconut milk, frozen bananas, maple syrup, and vanilla extract.
Start blending on a low speed and gradually increase to high.
Blend until the mixture is completely smooth and creamy.
You may need to stop and scrape down the sides to ensure everything is evenly mixed.
Step 3: Add Flavors

Once the base is blended, add your chosen flavor ingredients like frozen strawberries or cacao powder.
Blend again until everything is fully combined and the color is uniform.
Taste the mixture to adjust sweetness if necessary.
Remember that flavors will intensify as the ice cream freezes.
Step 4: Chill the Mixture

Transfer the blended mixture to a bowl and cover it with plastic wrap.
Place it in the refrigerator for at least 30 minutes.
This step helps enhance the flavors and ensures a smoother texture.
If you’re in a hurry, you can skip this step but chilling is recommended.
Step 5: Freeze the Ice Cream

Once chilled, pour the mixture into a freezer-safe container.
Spread it evenly and cover tightly with a lid or plastic wrap.
Freeze for at least 4 hours, or until solid.
For the best texture, stir the ice cream every hour for the first three hours.
Step 6: Serve and Enjoy

After freezing, remove the ice cream from the freezer and let it sit for a few minutes to soften.
Scoop the ice cream into bowls or cones.
You can top it with fresh fruit, nuts, or a drizzle of chocolate syrup.
Enjoy your creamy, healthy dairy-free ice cream immediately.
Step 7: Store Leftovers

If you have leftovers, store them in an airtight container.
Make sure to press a piece of parchment paper directly onto the surface to prevent ice crystals.
Return it to the freezer and consume within a few weeks for best quality.
When ready to serve again, let it soften a bit before scooping.
Critical Timing and Temperature Guide
Chilling the Mixture: Chill the blended mixture for at least 30 minutes in the refrigerator. This helps meld the flavors. Avoid skipping this step as it enhances texture.
Freezing Time: Freeze the ice cream for a minimum of 4 hours. The ice cream should be completely solid but scoopable. Stir every hour for the first three hours to improve texture.
Serving Temperature: Allow the ice cream to sit out for 5-10 minutes before serving. This will soften the ice cream for easier scooping.
Pro Tips for Vitamix Dairy Free Ice Cream Recipes Creamy And Healthy
• Ingredient Selection: Use high-quality coconut milk and fully ripe bananas for the best flavor and texture.
• Preparation Secret: Blend the base ingredients twice for a creamier texture, ensuring no lumps remain.
• Temperature Management: Keep your ingredients cold before blending to ensure the mixture doesn’t warm up too quickly.
• Texture Enhancement: Stir the ice cream every hour during the initial freeze to break up ice crystals.
• Flavor Layering: Consider adding spices like cinnamon or nutmeg to enhance flavors.
• Make-Ahead Strategies: Prepare the ice cream base a day ahead and store it in the fridge until ready to freeze.
• Restaurant-Quality Finishing Touches: Drizzle with agave syrup or serve with a sprinkle of sea salt for a gourmet touch.
• Equipment Optimization: Use a tamper if available on your Vitamix model to help blend thicker mixtures.
Troubleshooting Common Issues
• Texture Too Dense: This can happen if the mixture is over-frozen. Let it sit out for a few minutes before scooping. Stirring every hour can help achieve a smoother texture in the freezer.
• Flavors Unbalanced: If the ice cream tastes bland, try adding more vanilla or sweetener. Taste the mixture before freezing to adjust.
• Ice Crystals Forming: Store the ice cream in an airtight container with parchment paper on top to minimize air exposure. Stirring during freezing helps as well.
• Too Sweet: If it’s overly sweet, balance it with a bit of salt or acidity from lemon juice in the base.
• Not Creamy Enough: Ensure you’re using full-fat coconut milk and ripe bananas. Both contribute to a creamier texture.
Variations and Regional Differences
• Chocolate Coconut Variation: Add 1/2 cup of cocoa powder and a pinch of sea salt for a rich chocolate flavor. This enhances the original coconut base and appeals to chocolate lovers.
• Tropical Mango Variation: Substitute strawberries with fresh or frozen mangoes for a refreshing tropical twist, adding a hint of lime juice for brightness.
• Nutty Almond Variation: Incorporate almond butter instead of peanut butter for a different nutty flavor, perfect for those who prefer almonds over peanuts.
• Modern Interpretations: Incorporate superfoods like spirulina or acai powder to boost nutritional value while adding unique flavors and colors.
Food Science Behind the Recipe
• Emulsification: The blending process helps combine water and fat, creating a stable mixture that leads to a creamy texture. Understanding how emulsifiers work helps in achieving a better mouthfeel.
• Freezing Point Depression: Ingredients like sugar and alcohol lower the freezing point of the mixture, preventing it from becoming rock hard. This knowledge aids in balancing sweetness and texture.
• Air Incorporation: Blending incorporates air into the mixture, creating a lighter texture. This process is crucial for achieving that fluffy, ice cream-like consistency.
Frequently Asked Questions
What’s the most common mistake people make when preparing dairy-free ice cream? The most common mistake is not blending long enough, resulting in a grainy texture. Always blend until completely smooth.
Can I prepare components of this dish in advance? Yes, you can prepare the ice cream base a day ahead and store it in the refrigerator until ready to freeze.
How do I adapt this recipe for dietary restrictions? For nut-free versions, substitute coconut milk with oat milk or another non-nut milk alternative.
What’s the best way to store and reheat leftovers? Store leftovers in an airtight container in the freezer. Let it sit out for 5-10 minutes before scooping to soften.
Can I freeze this dish? Yes, this ice cream freezes well and can be stored for up to two weeks.
What wine or beverages pair best with this dish? Light sparkling wines or fruity cocktails complement the sweetness of the ice cream.
How can I scale this recipe up for a crowd? Simply double or triple the ingredients and blend in batches if necessary to keep the texture consistent.
What side dishes complement this recipe best? Fresh fruit salads or nutty granola make excellent accompaniments.
How do professional chefs elevate this dish for restaurant service? Professional chefs often add gourmet toppings like candied nuts or flavored syrups to enhance the presentation.
Serving and Presentation Guide
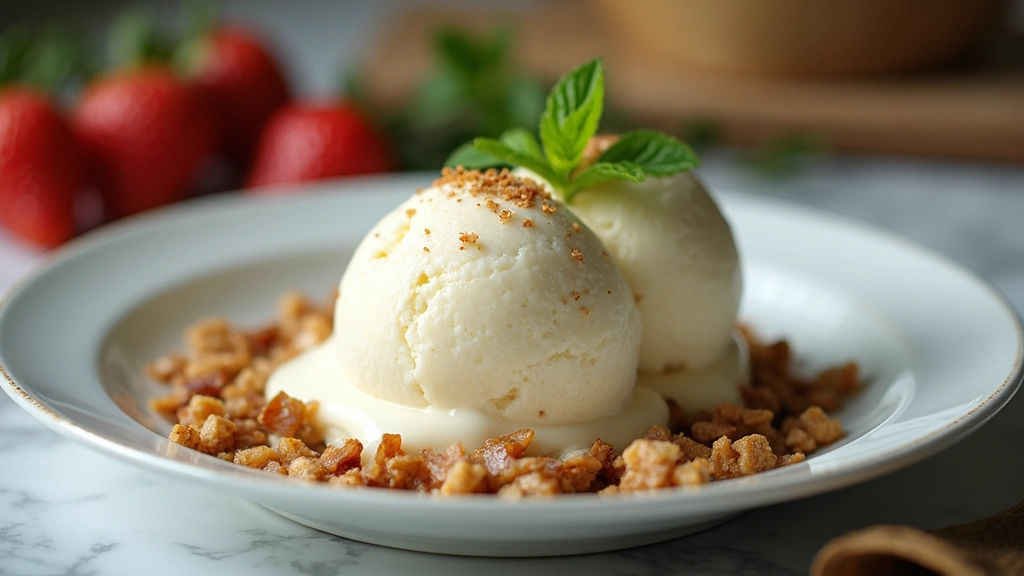
• Traditional Presentation: Serve the ice cream in chilled bowls with a sprinkle of fresh fruit or a mint leaf for garnish, enhancing the visual appeal.
• Modern Plating Ideas: Scoop the ice cream into a tall glass layered with fruit coulis and topped with edible flowers for an elegant touch.
• Accompaniment Suggestions: Pair with homemade granola or a light fruit salad for a refreshing contrast.
• Special Occasion Presentation: Create an ice cream sundae bar with various toppings to allow guests to personalize their desserts.
Conclusion
I hope you enjoy creating your own Vitamix Dairy Free Ice Cream.
This recipe is a fantastic way to indulge your cravings while sticking to healthier choices.
Feel free to experiment with flavors and toppings to make it your own!