
This delightful gluten-free, dairy-free bread machine recipe is a game-changer for those with dietary restrictions.
With its soft texture and rich flavor, it proves that you can enjoy bread without sacrificing taste or quality.
I first stumbled upon this recipe while searching for alternatives for a family gathering, and it quickly became a favorite.
Perfect for sandwiches, toast, or simply enjoyed fresh from the machine, this bread is versatile enough to fit into any meal.
The History and Cultural Significance
• Gluten Free Dairy Free Bread Machine Recipes Soft And Easy traces its origins to the growing need for alternative diets in the late 20th century.
• The dish evolved over decades as more people began to embrace gluten-free and dairy-free lifestyles, leading to innovative baking techniques and ingredient substitutions.
• In modern culinary culture, this bread is a staple for those with celiac disease or lactose intolerance, symbolizing inclusivity in dining.
• While many variations exist across different kitchens, the authentic version maintains a soft and airy texture that sets it apart from traditional bread.

Recipe Overview
Nutritional Information (per serving)


Ingredients


Essential Equipment Guide
Bread Machine: This is the most crucial tool for making gluten-free bread. It automates mixing, kneading, and baking, ensuring optimal results. Look for machines with a gluten-free setting for best outcomes.
Measuring Cups and Spoons: Accurate measurements are vital in gluten-free baking, as too much or too little can affect the texture. Use dry measuring cups for dry ingredients and liquid measuring cups for wet ingredients to ensure precision.
Mixing Bowls: A good set of mixing bowls allows for proper mixing and ingredient preparation. Opt for non-reactive materials like glass or stainless steel to avoid any unwanted reactions with acidic ingredients.
Preparation Methods
Mixing and Kneading: Proper mixing is key to achieving a uniform dough. Mix the dry ingredients thoroughly before adding wet ingredients to ensure even distribution of the yeast and leavening agents. Kneading can be performed in the bread machine, but if doing it by hand, knead until the dough is smooth and slightly sticky.
Proofing: This step allows the yeast to activate and the dough to rise. Keep the dough in a warm environment, covered, to maintain moisture and warmth, which are crucial for yeast activation. A warm oven or a sunny spot works well.
Baking: The baking process requires attention to temperature and timing. Ensure your bread machine is set to the gluten-free setting, which typically alters the baking time and temperature for best results. Watch for a golden crust and a hollow sound when tapping the bottom of the loaf.


Step 1: Gather Ingredients

Begin by gathering all your ingredients on a clean countertop.
Ensure you have everything ready to streamline the process.
Check expiration dates on your yeast and baking powder to ensure they are active.
This step helps in maintaining an organized cooking environment.
Step 2: Combine Dry Ingredients

In a mixing bowl, combine the gluten-free flour, salt, sugar, baking powder, and yeast.
Use a whisk to mix the dry ingredients thoroughly, ensuring even distribution.
This step is crucial as it ensures the yeast is evenly mixed and can work effectively.
Look for a uniform color and texture in the mixture.


Step 3: Add Wet Ingredients

Create a well in the center of the dry ingredients and pour in the warm water and olive oil.
Gently mix with a spatula or wooden spoon until the dough starts to come together.
The dough will be slightly sticky; this is normal for gluten-free bread.
Be careful not to over-mix, as this can affect the texture.
Step 4: Transfer to Bread Machine

Once the dough is combined, transfer it into the bread machine pan.
Ensure the pan is properly positioned in the machine before proceeding.
Smooth the top of the dough with a spatula for even baking.
This step is important for achieving an even shape and texture.


Step 5: Set the Bread Machine

Close the lid of the bread machine and select the gluten-free setting.
Set the timer according to your machine’s instructions, usually about 60 minutes.
Make sure to check that the machine is plugged in and functioning.
This step sets the stage for the perfect baking environment.


Step 6: Monitor the Dough Rise

As the bread bakes, monitor the dough during the rising phase through the viewing window.
Look for the dough to double in size and become puffy.
This is a crucial phase for gluten-free bread as it will affect the final texture.
If the dough doesn’t rise, it may be due to inactive yeast.
Step 7: Check for Doneness

When the baking cycle is complete, carefully remove the bread pan from the machine.
Tap the bottom of the loaf; it should sound hollow, indicating it’s done.
If it feels dense or moist, consider returning it to the machine for a few more minutes.
This step ensures you achieve the perfect bread texture.
Step 8: Cool the Bread

Allow the bread to cool in the pan for about 10 minutes before transferring it to a wire rack.
Cooling helps set the bread’s structure and prevents it from becoming soggy.
Let it cool completely before slicing to maintain its shape.
This final step enhances the bread’s texture.
Critical Timing and Temperature Guide
Mixing: Ensure the dry ingredients are mixed thoroughly before adding wet ingredients. This should take about 5 minutes. Over-mixing can lead to dense bread.
Rising: Allow the dough to rise according to the bread machine’s instructions, usually around 30 minutes. If the dough does not rise, check the yeast’s freshness.
Baking: The total baking time is typically 60 minutes. Look for a golden-brown crust and a hollow sound when tapped on the bottom.
Pro Tips for Gluten Free Dairy Free Bread Machine Recipes Soft And Easy
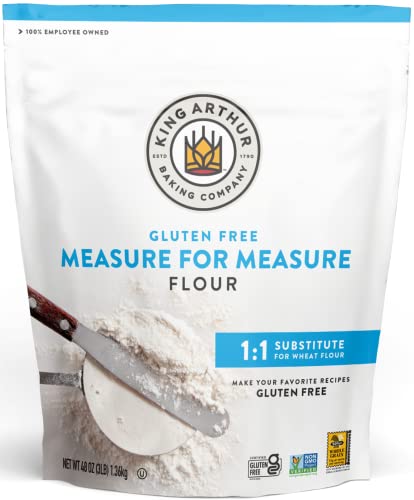
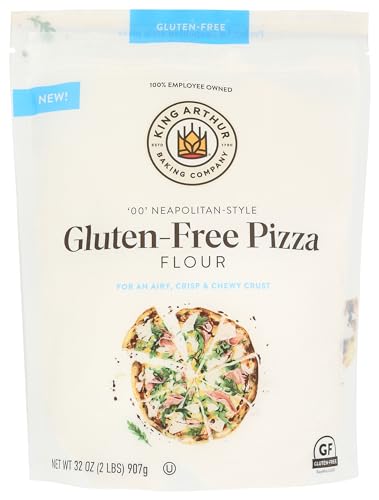
• Ingredient Selection: Use a high-quality gluten-free flour blend that includes xanthan gum, as this is essential for achieving a proper texture.
• Preparation Secret: Let your water come to a warm temperature before adding it to the dry ingredients; this activates the yeast effectively.
• Temperature Management: Ensure your ingredients are at room temperature before mixing, as cold ingredients can hinder yeast activation.
• Texture Enhancement: Adding a tablespoon of apple cider vinegar can improve the bread’s texture and rise.
• Flavor Layering: Consider adding herbs or spices to the dough for unique flavors that complement the bread.
• Make-Ahead Strategies: Prepare the dry ingredients in advance and store them in an airtight container. Combine wet ingredients fresh before baking.
• Restaurant-Quality Finishing Touches: Brush the top with olive oil before baking for a beautiful golden crust.
• Equipment Optimization: Familiarize yourself with your bread machine’s specific settings for optimal results.
Troubleshooting Common Issues
• Texture Too Dense: This often occurs due to too much flour or not enough moisture. Ensure you measure your ingredients accurately and consider adding a little more liquid next time.
• Loaf Not Rising: If the bread doesn’t rise, check the freshness of your yeast. It should be active; if not, replace it and try again.
• Crust Too Hard: This can happen if the baking time is too long. Monitor the loaf in the last few minutes of baking to avoid over-browning.
• Dough Too Sticky: If the dough is overly sticky, you may need to add a bit more flour to achieve a manageable consistency. Gluten-free dough is inherently stickier than traditional dough.
• Uneven Baking: Ensure your bread machine is on a flat surface and that you’re using the correct setting for gluten-free bread. Adjusting the settings may help achieve a more even bake.
Variations and Regional Differences
• Herbed Variation: Incorporate dried herbs like rosemary or thyme into the dough for a fragrant twist that enhances the flavor.
• Cinnamon Raisin: Add cinnamon and raisins to the base recipe for a sweet breakfast option. This variation is popular in many households.
• Seeded Bread: Top the loaf with sesame or sunflower seeds before baking for added texture and flavor. This approach is common in many cultures.
• Modern Interpretations: Explore incorporating alternative flours such as almond or coconut flour to create unique flavor profiles while adhering to gluten-free and dairy-free guidelines.
Food Science Behind the Recipe
• Yeast Activation: Understanding how yeast works is crucial. Yeast needs warmth and moisture to activate, which creates carbon dioxide and causes the dough to rise, resulting in a light texture.
• Xanthan Gum: This ingredient mimics the elasticity gluten provides in traditional bread. It helps bind the ingredients together, giving structure to gluten-free bread.
• Moisture Retention: Using olive oil in the recipe not only adds flavor but also helps retain moisture, preventing the bread from drying out, leading to a softer loaf.
Frequently Asked Questions
What’s the most common mistake people make when preparing gluten-free bread? Many overlook the importance of active yeast. Always check the expiration date and proof it before use to ensure it’s working.
Can I prepare components of this dish in advance? Yes, you can mix the dry ingredients ahead of time and store them in an airtight container. Add wet ingredients just before baking.
How do I adapt this recipe for dietary restrictions? This recipe is already gluten-free and dairy-free. For nut allergies, ensure your flour blend is nut-free, and avoid any nut-based oils.
What’s the best way to store and reheat leftovers? Store leftover bread in an airtight container at room temperature for up to three days. For reheating, slice and toast for best results.
Can I freeze this dish? Yes, freeze the bread once completely cooled. Wrap it in plastic wrap and then in foil for up to three months. Thaw at room temperature before serving.
What wine or beverages pair best with this dish? A light white wine, like Sauvignon Blanc, complements the bread without overpowering its subtle flavors.
How can I scale this recipe up for a crowd? Simply multiply the ingredients by the number of loaves you wish to make, but be mindful of your bread machine’s capacity.
What side dishes complement this recipe best? Serve with soups, salads, or spreads like hummus or avocado for a balanced meal.
How do professional chefs elevate this dish for restaurant service? They often use artisanal flours, add gourmet toppings, or serve with unique dips and spreads.
Serving and Presentation Guide
• Traditional Presentation: Slice the bread and serve it on a wooden cutting board with a small dish of olive oil or balsamic vinegar for dipping.
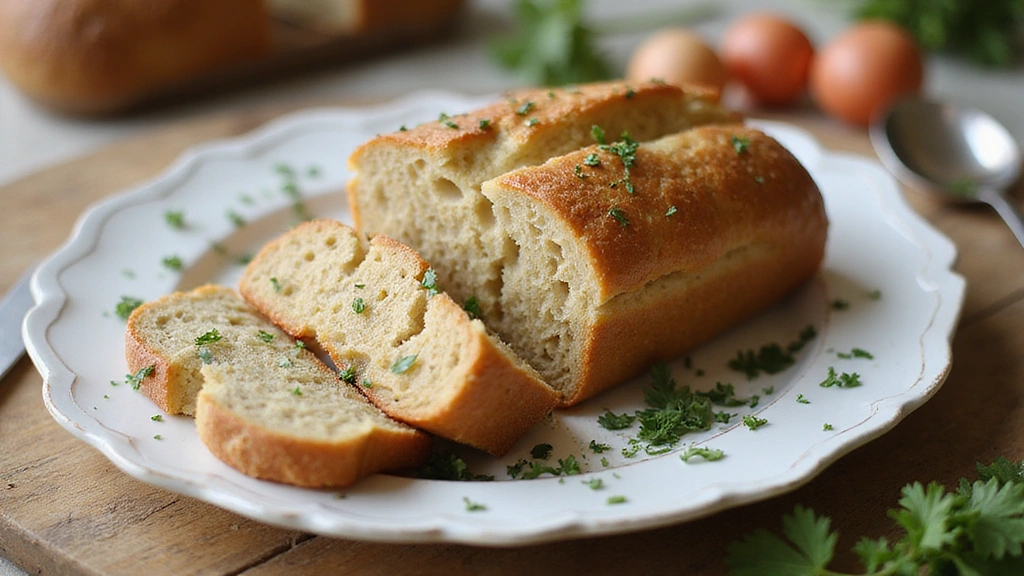
• Modern Plating Ideas: Arrange slices in a fanned-out presentation on a white plate, garnished with fresh herbs for a contemporary look.
• Accompaniment Suggestions: Pair with a fresh salad, roasted vegetables, or spreads like hummus or guacamole to enhance the meal.
• Special Occasion Presentation: For gatherings, serve the bread in a basket lined with a linen cloth, providing a rustic and inviting feel.


Conclusion
I hope you enjoy making this gluten-free, dairy-free bread as much as I do.
It’s a wonderful addition to any meal and perfect for sharing with loved ones.
Give this recipe a try, and taste the joy of freshly baked bread that everyone can enjoy.